8 programs to create and design your own digital planner

When it comes to how to make a digital planner, you really are spoiled for choice. With so many different programs available, it’s never been easier to design a planner that suits your needs.
Whether you opt for one of the best graphic design tools like Canva, that lets you craft a custom planner from scratch, or you choose to go with the best calendar apps, like Google, and stick to something simple, a digital planner is a convenient way to help you stay organized.
Unlike paper planners, which can be easily lost, digital planners can be viewed and edited quickly and easily no matter where you are. While some do require a small subscription, there are plenty of free calendar apps that come packed full of features.
If you’re ready to reap the rewards of a digital planner and streamline your life, you’ll find everything you need to know below. From our favorite digital planning apps to instructions on how to create your own planner in Canva, you’re just a few steps away from being a time management ninja!
What is a digital planner?
There’s no denying that life can get busy, which is why it’s so important to be able to keep track of everything that you have going on. And while there’s nothing wrong with the traditional pen and paper approach, notebooks can easily get lost — not to mention how quickly they can clutter up your desk and shelves.
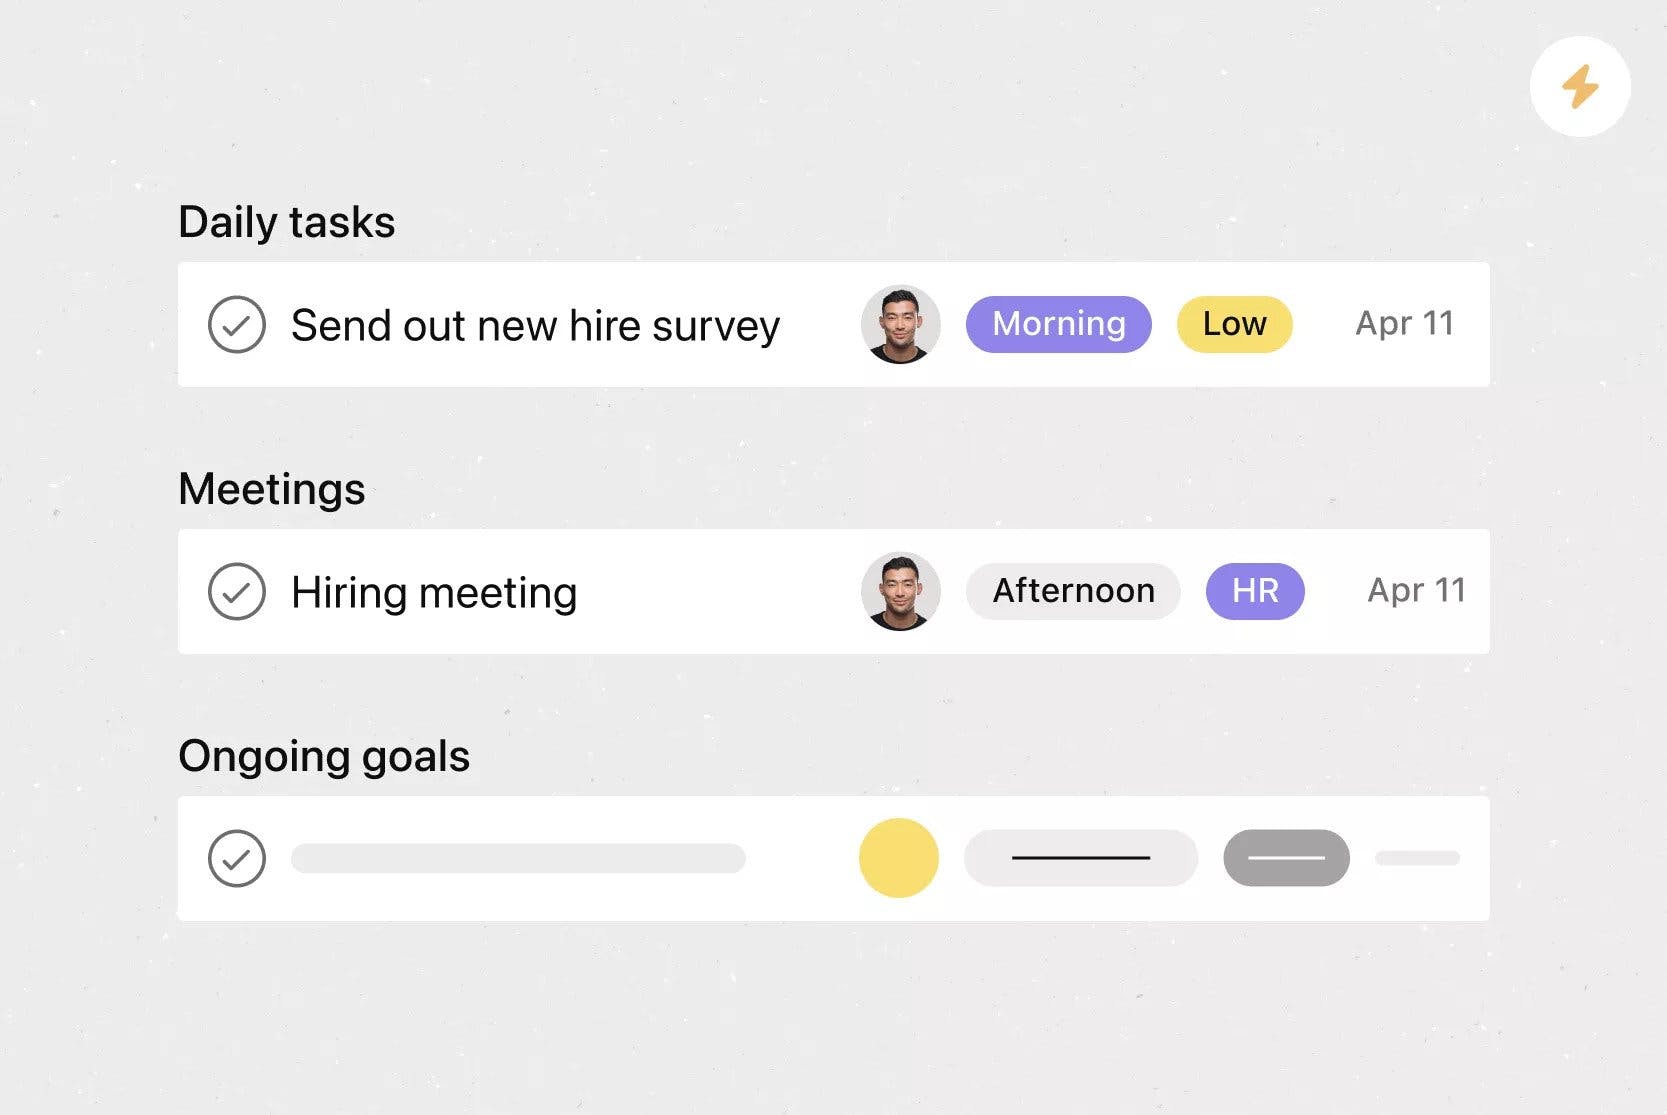
Enter the digital planner, one of the most effective time management tools and techniques to increase your productivity and help you stay organized. A digital planner is simply a substitute for a paper planner and allows you to manage all of your appointments, tasks, goals, and objectives in one easy-to-access place.
One way to do this is by creating an interactive PDF which you download and import into your device. You then open the planner in a PDF annotator app so that you can write on it and plan out your schedule in a style that works for you.
Alternatively, you can skip all of that and simply opt to use one of the many wonderful digital planning apps that are currently available — many of which are free, or can be subscribed to for a small monthly or annual charge.

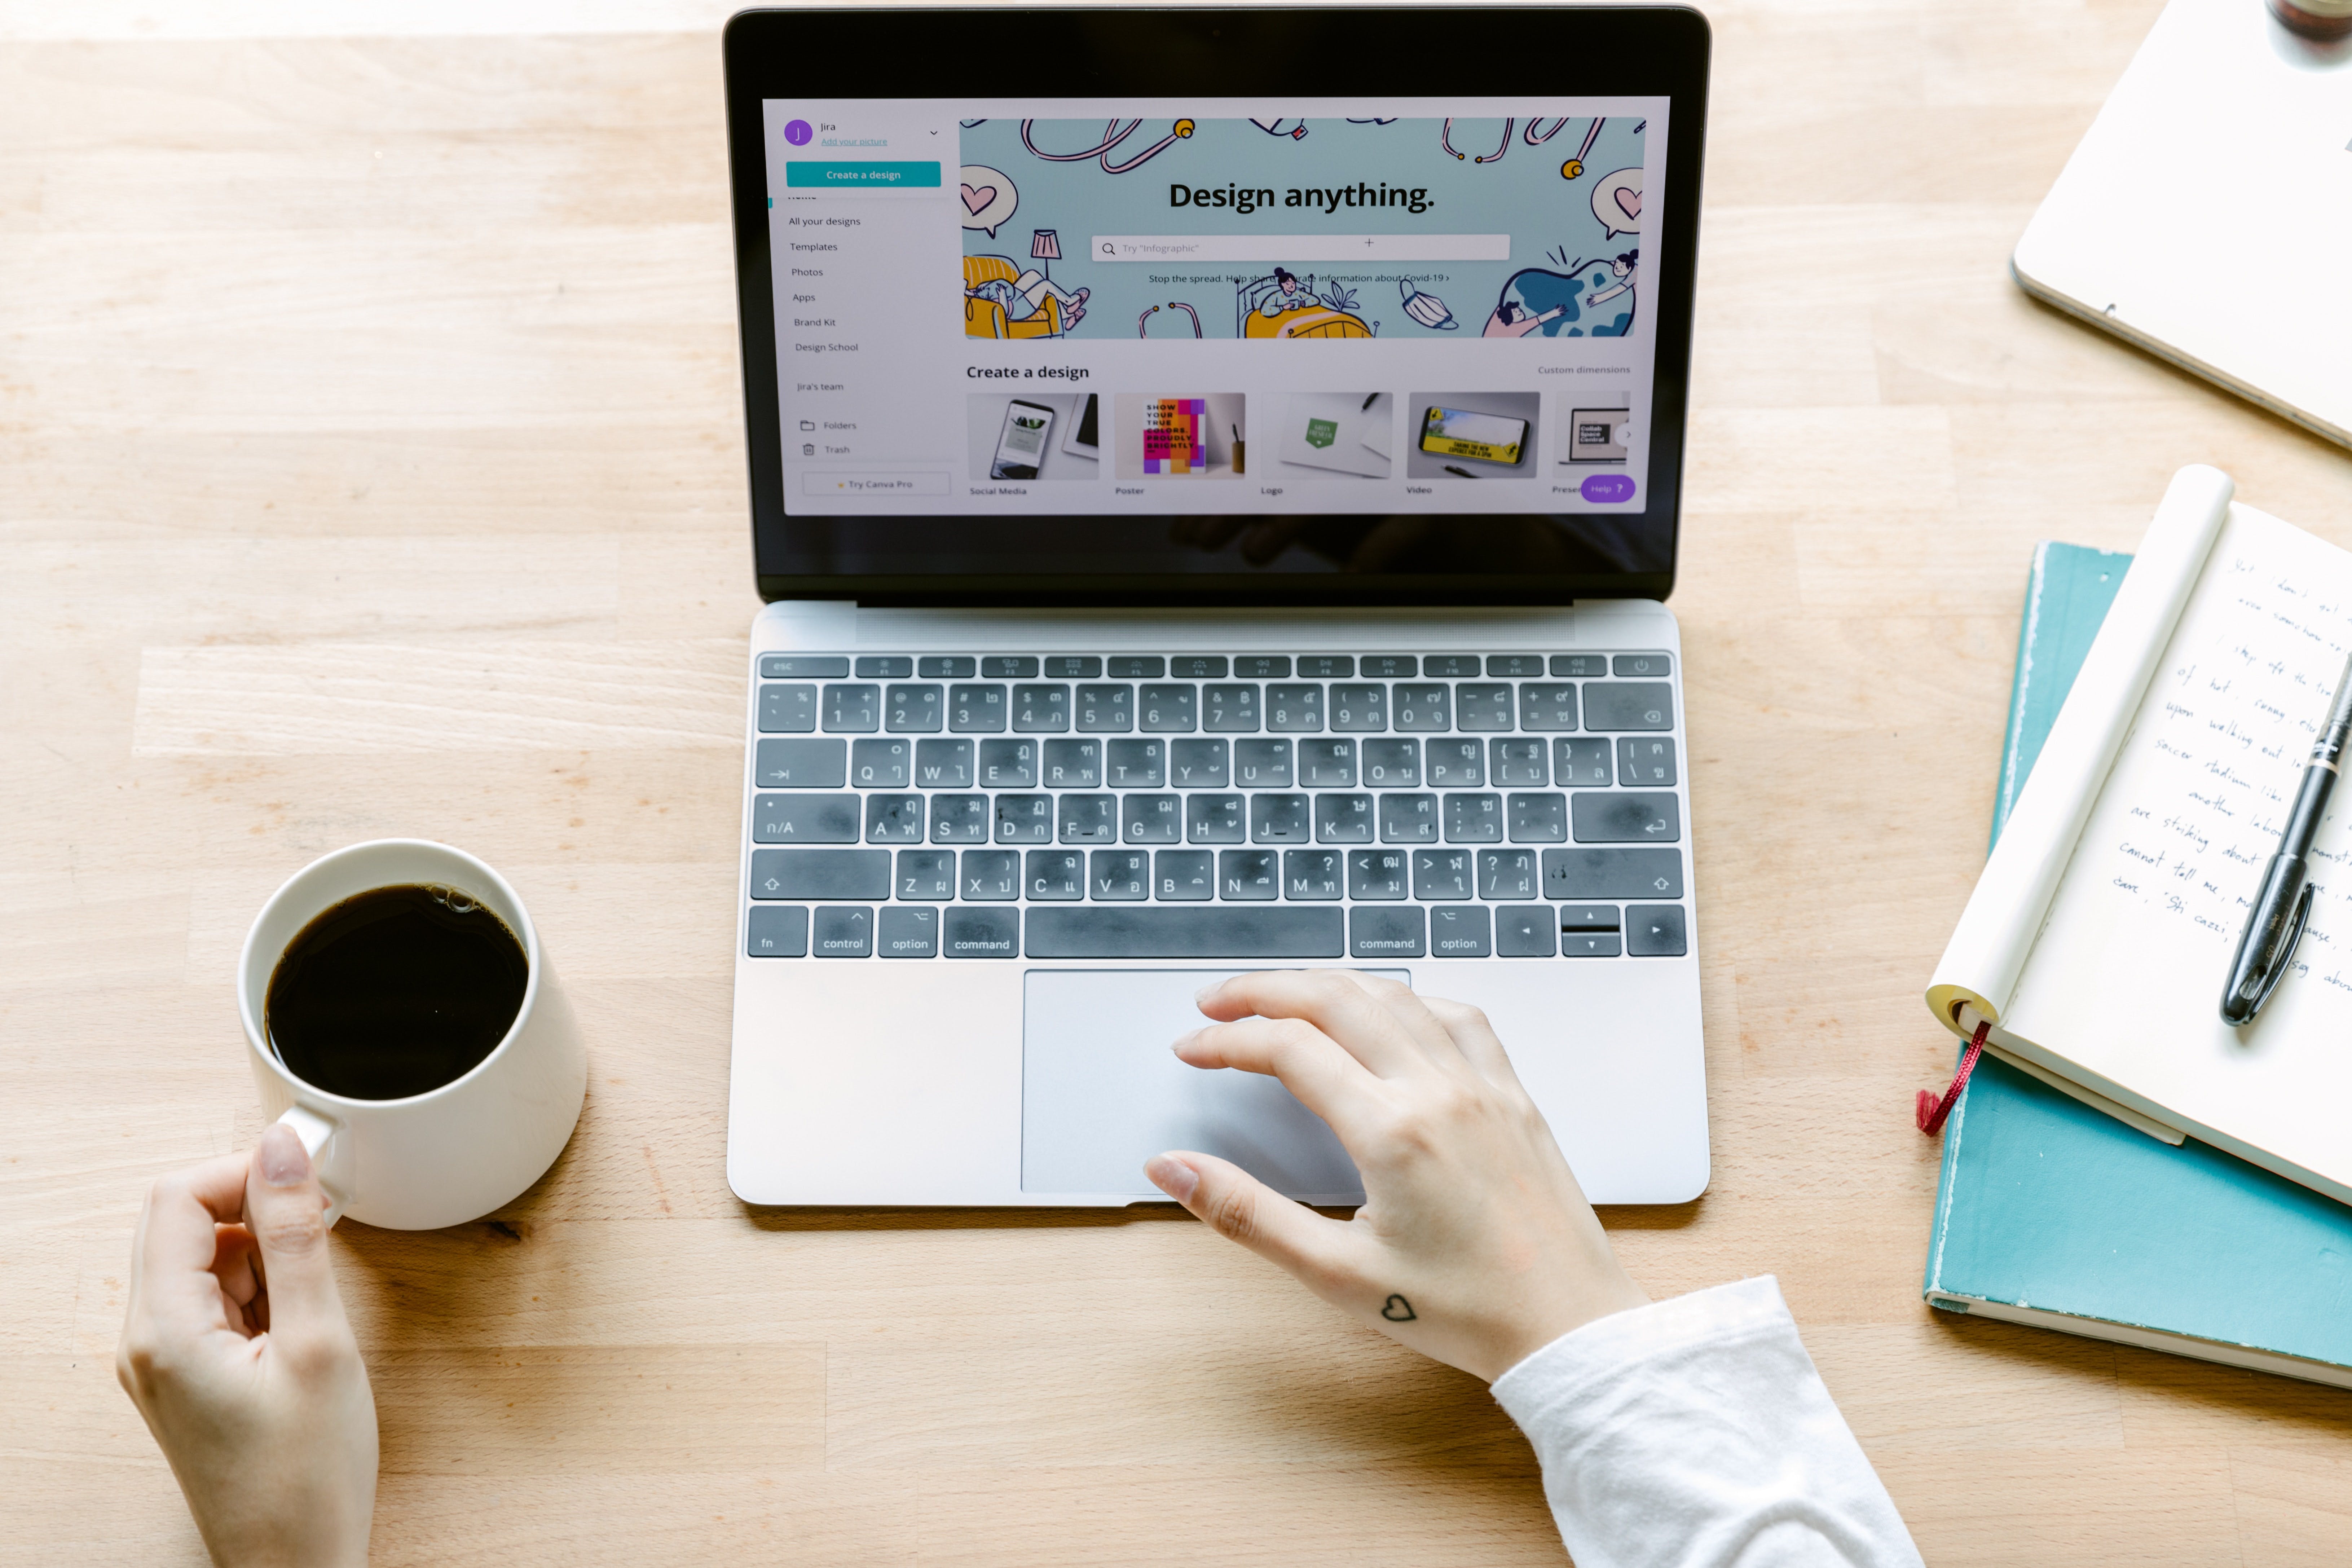
Canva
What do you need for a digital planner?
A lot of people worry that they’ll need to invest in expensive equipment before they can get started with digital planning, but the good news is, you don’t need fancy devices or applications in order to make the switch.
Here are the must-have tools for digital planning if you decide you want to create your own from scratch:
1. A tablet or smartphone: Yes, you can absolutely create a digital planner on your phone! You can use a desktop computer if you’d prefer a larger screen size to view everything on, but a tablet or smartphone works equally well. As long as you have an electronic device that you can use to host your digital planner file, you’re good to go.
2. A note-taking app: If you’ve ever received a PDF document before, then you know that unlike a Word document, you can’t automatically write on it. That’s why you’ll need to install a note-taking app on your device that allows you to edit the PDF file if you plan to go down that route as opposed to using an app. From there, you’ll be able to write on your planner, add images, and customize it to suit your needs.
3. A digital planner: Once you’ve completed the above two steps, you can move on to selecting your planner. You can do this by choosing to opt for an interactive PDF file that contains all your calendar pages, to-do lists and any extra inserts that the planner’s design allows you to add in. Or, if you’d rather simplify further, select one of the many wonderful digital planning apps and get going that way.
For a digital planner that’s not hosted on an app, the items above are the three that you must have in order to create one. On top of that, there are definitely a couple of nice-to-haves that can make your digital planning experience that little bit easier.
For example, an Apple Pencil, or another stylus of your choosing, makes for a wonderful writing experience that gets you very close to the feel you’d get if you were putting together a traditional paper planner.
You can also take it one step further and get yourself a paper-like screen protector that simulates the experience of writing in a notebook as opposed to on a screen.
But remember, both of those aren’t necessary when it comes to creating your digital planner.
Ketut Subiyanto / Pexels
How to make a digital planner
You can make a digital planner either by selecting a digital planner app where all the hardwork has been done for you, or by creating one from scratch.
Later on in this guide, you’ll find a selection of our favorite apps, but for now, here’s how to create one from scratch:
1. Choose your layout
When it comes to the style of your planner, you’ll want to give some thought to how many sections you’d like it to have and how you want these to look.
For example, do you want a yearly planner that comes with monthly and weekly calendar spreads? Do you want a daily planner and schedule? Is a to-do list important to you? How about habit and exercise trackers?
Once you’ve decided on the various features, you’ll have an idea of the number of sections and pages you’ll need to have in your planner.
2. Set up your document
Next up, set the dimensions of your planner. It’s recommended to go with a simple A4 design (210 x 297mm or 3508 x 2480 px) as this will make it quick and easy to print out pages from your planner if you wish to do so.
3. Build the pages of your planner
When it comes to creating the pages of your digital planner, a lot will depend on whether you want to go with a monthly, weekly, or daily schedule.
For monthly planners, you’ll want to do a calendar spread made up of squares and text, whereas for a daily planner, you’ll be looking to make use of lines to write your text on.
Either way, shape tools and text boxes will be your best friend here. You can also jazz your planner up by adding colors, pictures, and patterns.
4. Create hyperlinks
You want to be able to navigate around your planner with ease, so hyperlinks are key. Create tabs at the top of your planner that will take you to other sections, or pages, in your planner.
5. Duplicate pages
When you’re creating your planner, you’re going to need to create multiple pages of the same design. For example, if you’re doing a monthly planner, you’ll need 12 pages that look the same, and for a daily planner, you’ll need 365 pages of the same design. To make this process quick and easy, simply duplicate the page and make minor changes to individual pages as needed.

Cottonbro Studio / Pexels
7 programs to create digital planners
Want to skip all the hassle of PDF digital planners and go for something simple and straightforward that you can view and edit on your desktop, tablet, or smartphone? These intuitive programs have got you covered:
1. ClickUp

ClickUp
The number one rated productivity platform, ClickUp is a wonderful all-in-one tool that takes care of the simplest to the most complex planning needs for individuals, teams, and families.
It comes with tons of amazing features, such as automations, personalizations, and templates that make it hyper-customizable. It’s the perfect app if you’re really particular about how you track and manage your work or personal life.
Cost: The basic version of ClickUp is free. Unlock additional features with their Unlimited package for $5/month per user or go with their Business package for $12/month per user.
2. Google Calendar
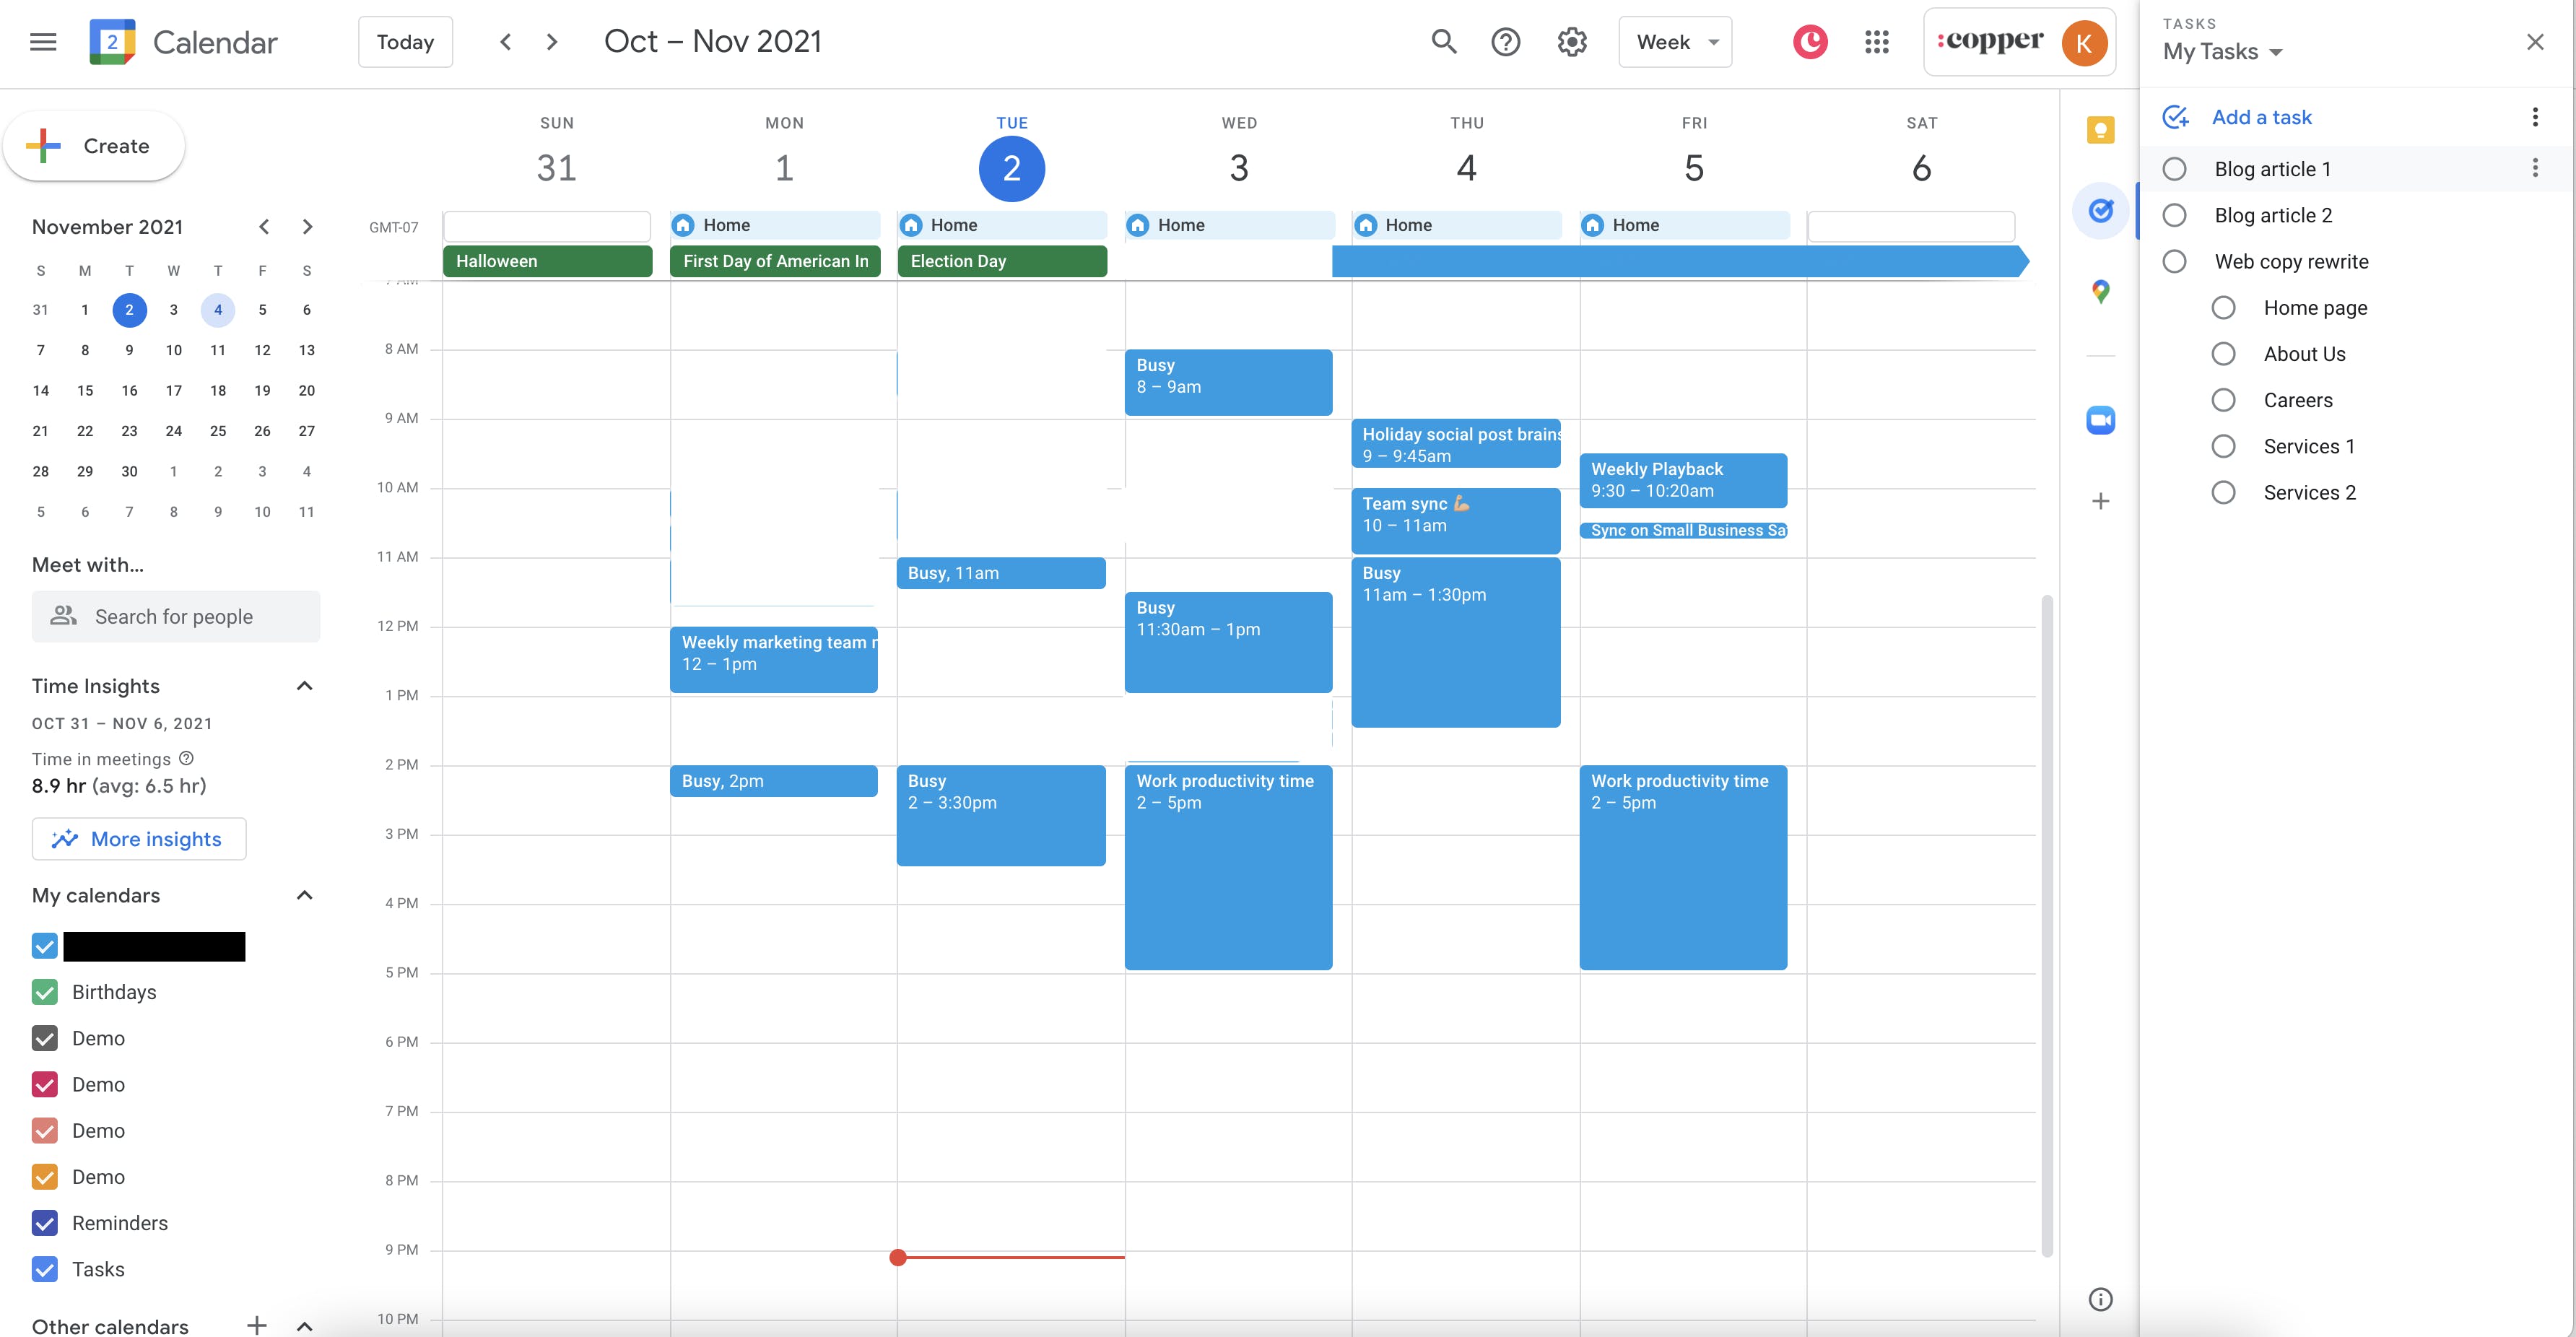
Google Calendar
One of the original digital planner platforms, Google Calendar is super easy to use, making it a wonderful choice if you’re looking for a basic planner to get going with.
While it’s simple, it has plenty of solid features such as automated reminders, task setting, calendar sharing, and an agenda view. It’s easy to use as a daily or weekly planner and you can also schedule events throughout the month and year.
Cost: Free
3. Trello
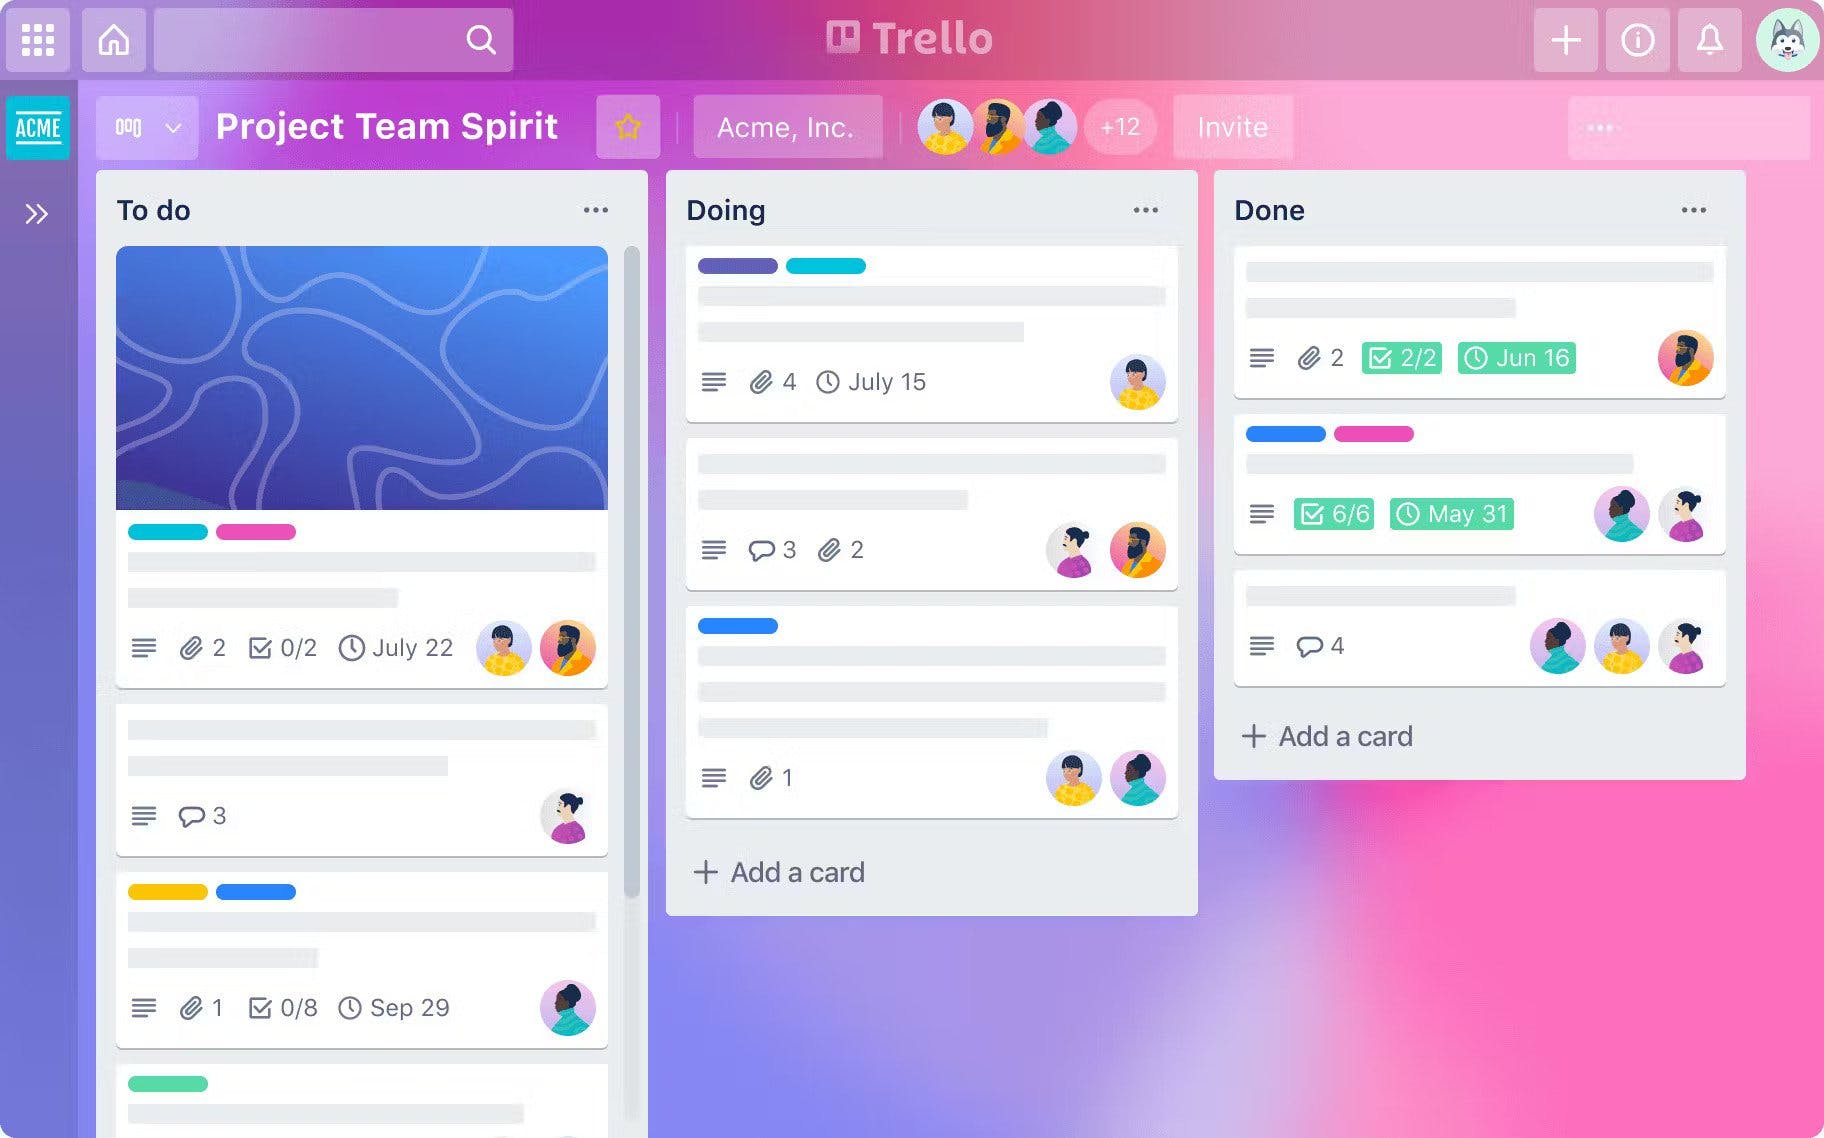
Trello
If you’re a highly visual person, you’ll find it hard to go past Trello with its vibrant color scheme and funky card tools that let you plan out your tasks and projects.
The intuitive drag and drop interface allows you to move things around with ease and the organization system is super flexible. You can also upload images and files and set automated reminders to stay on top of tasks.
Cost: The basic version of Trello is free. Upgrade to their Standard subscription for $5/month per user or their Premium subscription for $10/month per user.
4. Todoist
Todoist
Go from overwhelmed to on top of it with Todoist, the app that lets you easily organize your work and home life in one simple to navigate place.
Start your day feeling calm and in control with a clear overview of everything on your plate, create to-do lists, set reminders, and make use of the custom filters to search and find tasks and data. Plus, share your workload by delegating a range of tasks from work projects to grocery lists.
Cost: Free. Pro version is $4/month, billed annually. Business version is $6/month, billed annually.
5. Monday.com

Monday.com
A brilliant digital planner for businesses, Monday.com lets you streamline all your work, processes, tools, files into one work OS. Create projects, collaborate with team members, track progress, and manage tasks with the simple and intuitive drag-and-drop interface.
You’ll get access to unlimited boards and docs, and customizable workflows, plus Monday integrates with hundreds of apps and services to help you work more effectively.
Cost: Basic service is free. After that you’re charged for what’s known as seats. The Standard subscription costs $8 a seat/month, billed annually, Pro costs $10 a seat/month, billed annually.
6. Any.do

Any.do
Whether you’re after a digital planning app that will let you create simple to-do lists, or you’re wanting to create centralized task lists to share with your team or family members, Any.do is a great choice.
This all-in-one productivity platform has an easy-to-use dashboard, a mobile-friendly calendar, one time, recurring and location reminders, and you can easily sync data across all your devices.
Cost: Personal version is free. Premium version is $3/month, billed annually. Teams is $5 per user/month, billed annually.
7. Asana
Asana
Designed for both professionals and amateurs, Asana lets you keep track of everything from work schedules and assignments to your home life and hobbies. It has a beautiful interface and you can manage tasks and deadlines in a systematic way. It also has useful features, like labels and tags, that make it easy to organize and find your information.
Cost: Basic version is free. Subscribe to Plus for $8 per user/month, billed annually. Business version is $15 per user/month, billed annually.
How to create a digital planner using Canva
1. Choose your digital planner template
If you’ve used Canva before, then you know that this user-friendly graphic design platform has some truly beautiful templates. The best part is that if you choose to go with Canva for your digital planner, you can pick one of their premade templates, or start from scratch and create your own.
Writer's own
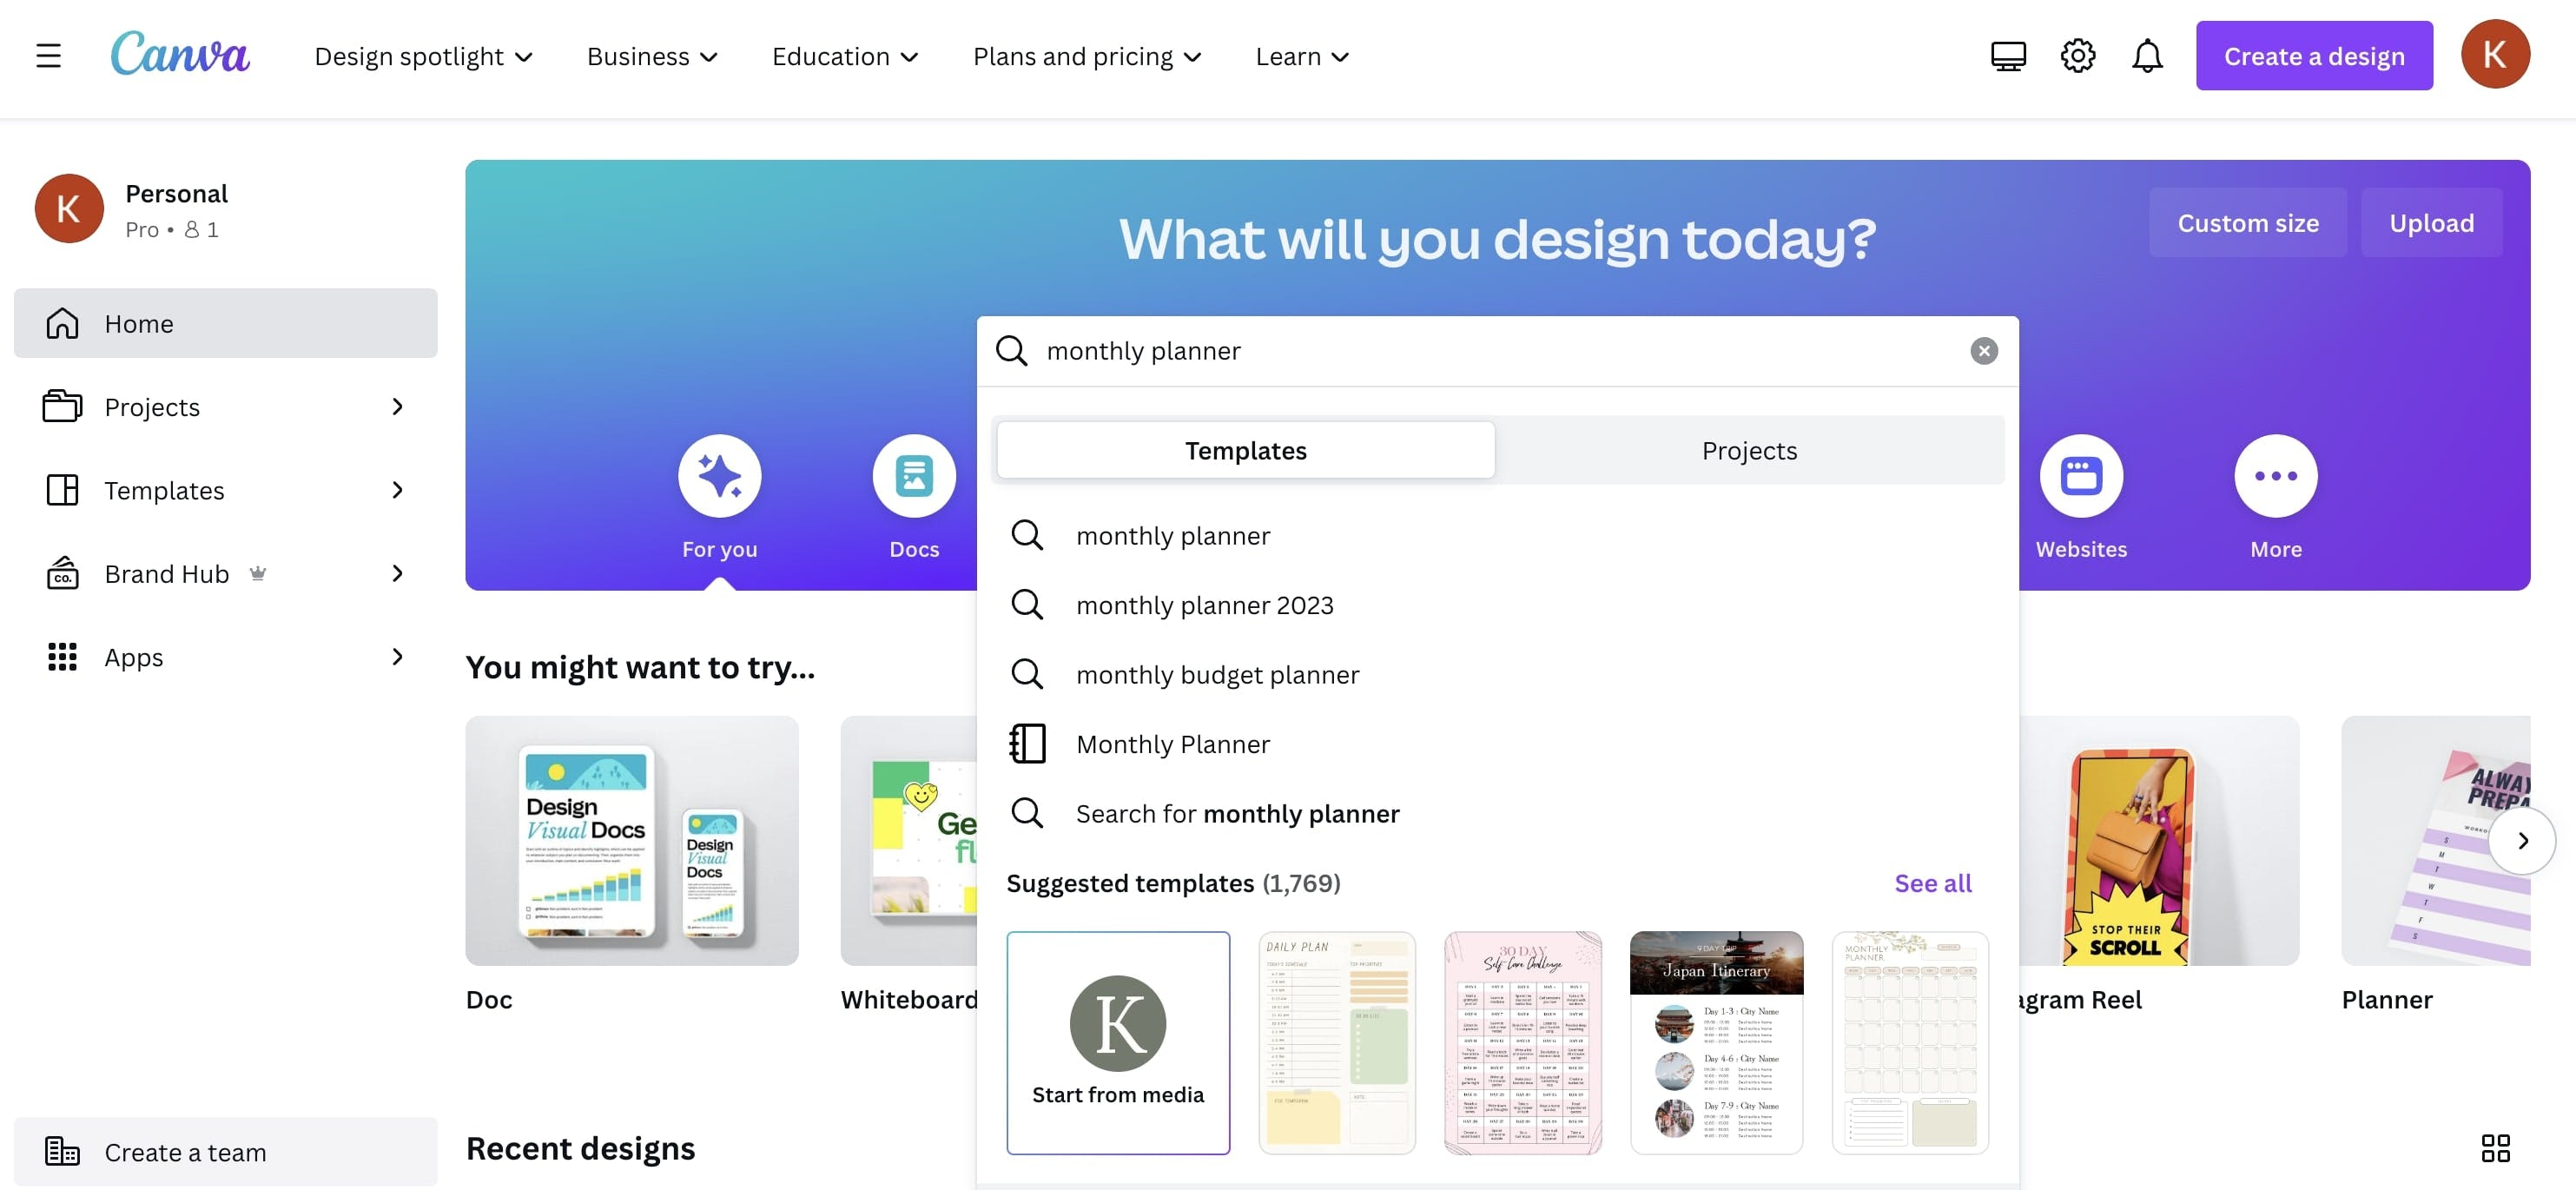
When you visit the Canva homepage, you’ll see a search bar at the top. In here, type the kind of planner you want to create — daily, weekly, or monthly. For the purposes of this example, we’re going to create a monthly planner.

Search for the kind of planner you'd like to create
You’ll then be shown a huge array of templates that fall under the category that you’ve chosen. Some of these will be free, while others will templates that require you to subscribe to Canva’s premium service.
If you look at the templates, you’ll notice a little crown symbol in the bottom right hand corner that indicates a subscription is required to use that particular template.

Some templates require you to subscribe to Canva’s premium service.
When you’ve found a template that you like, click on it and then click on the ‘customize this template’ button on the right hand side.
2. Creating a digital planner from scratch
If you’d prefer to have full creative freedom and design your own planner from the ground up, you’ll want to create a blank template.
To do this, return to the Canva homepage and in the top right hand corner you’ll see a button with ‘create a design’ on it. Type planner into the search field and click on the option that best suits your needs.
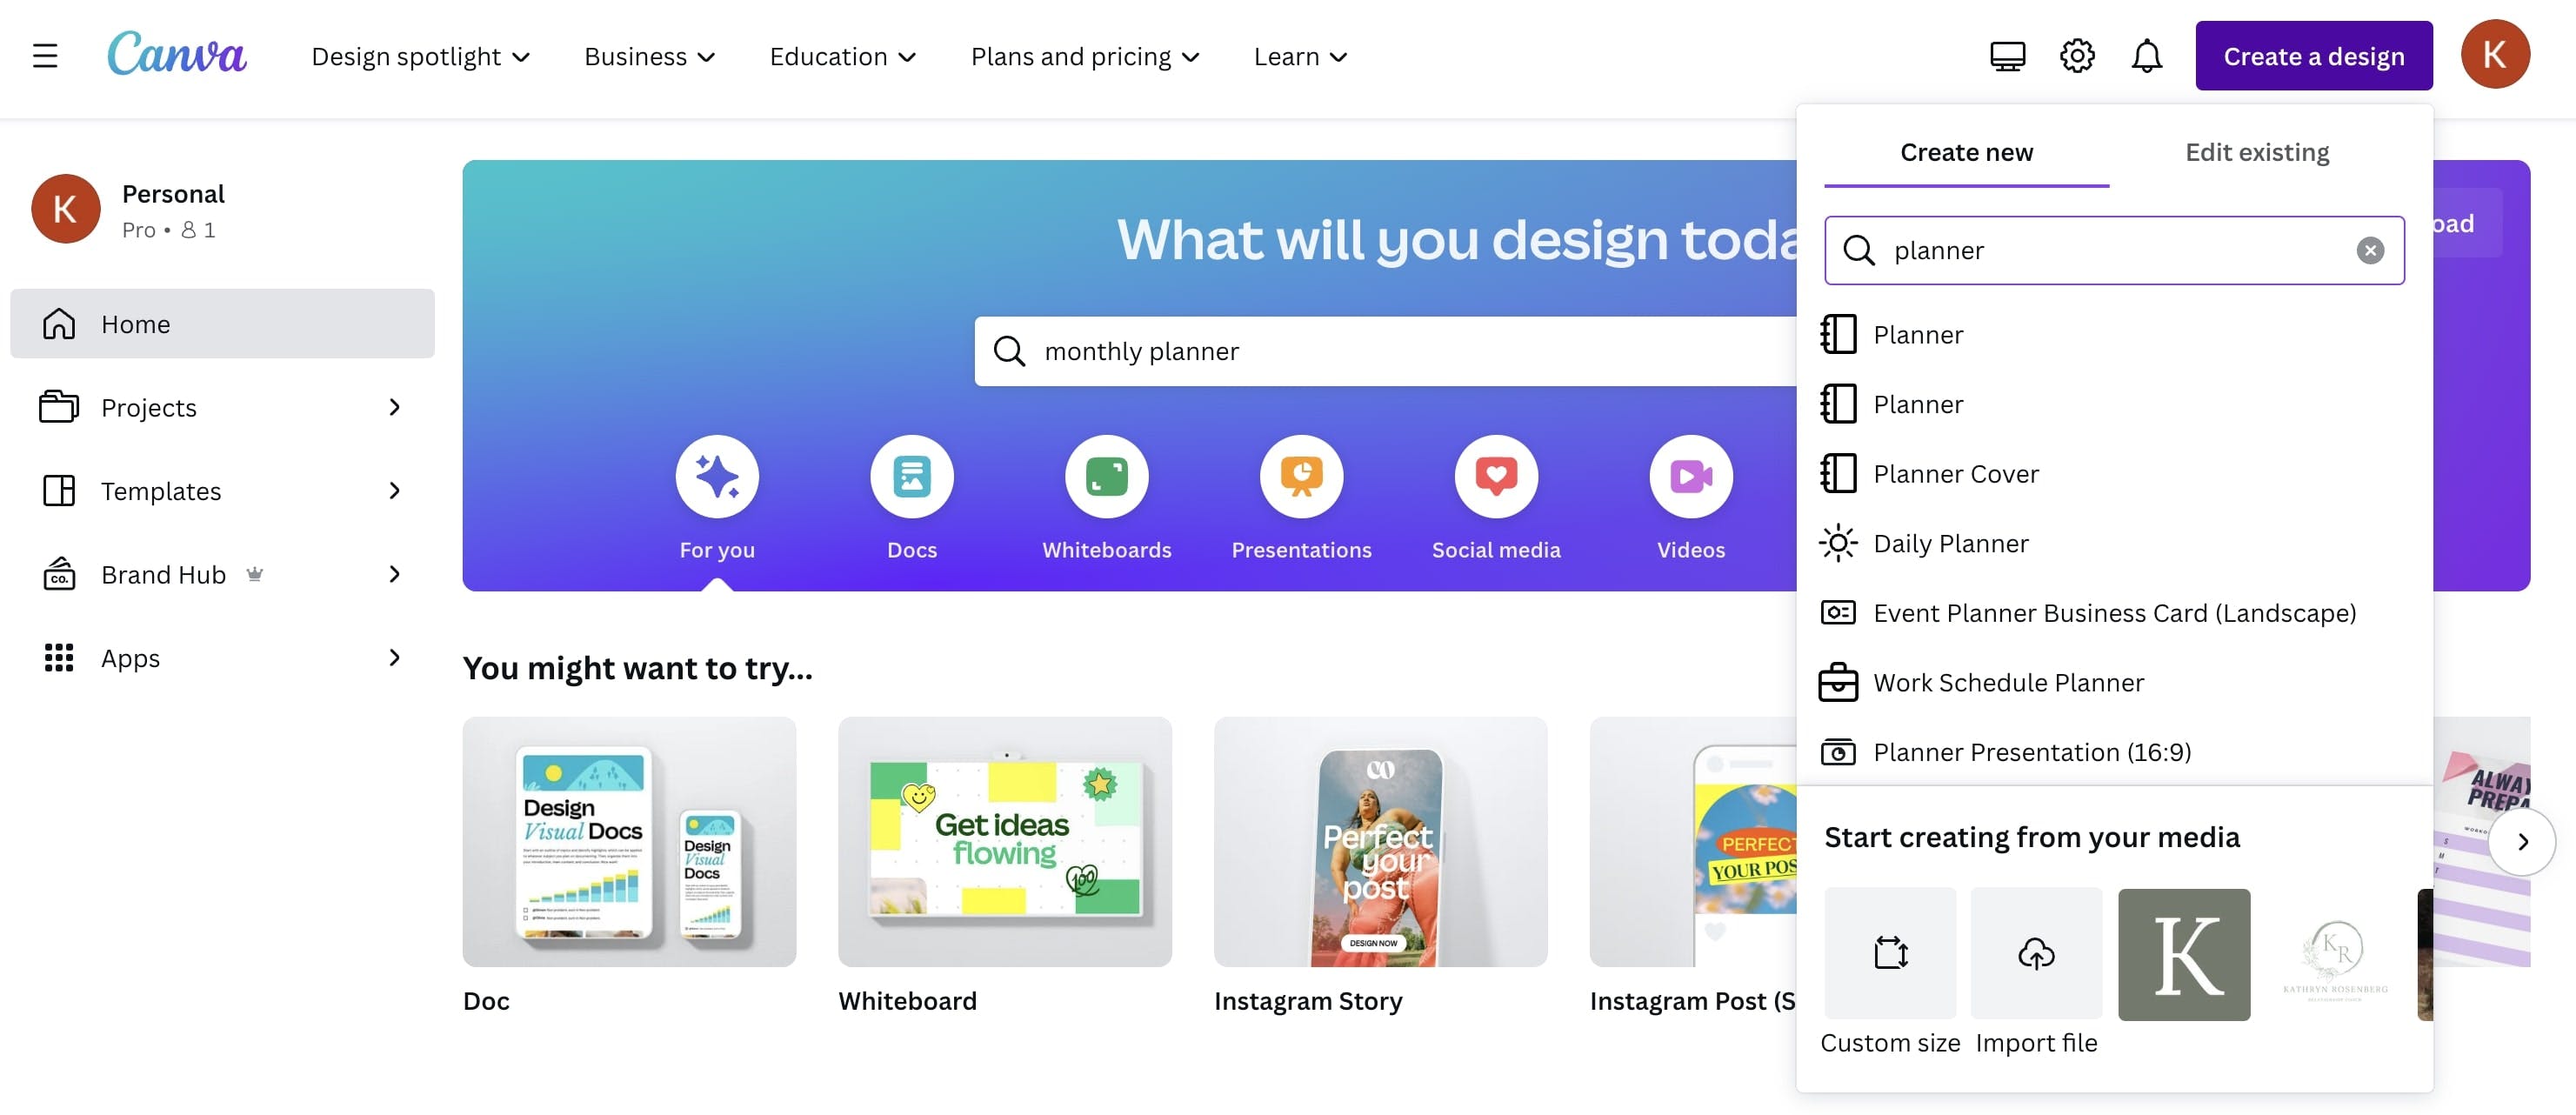
Create a new planner with Canva
3. Select your font
Whether you’ve selected a template or you’re building from scratch, you can customize the fonts, sizes, and colors on your planner to get the look you desire.
If you’d like to change your font on a premade templates, click on any text and you’ll automatically get a menu on the left hand side of the screen that shows you all the fonts that you can choose from.
To change the color of the planner, click on one of the colored fields and again, a menu will appear where you can select a color or enter the hex code for a color of your choice.
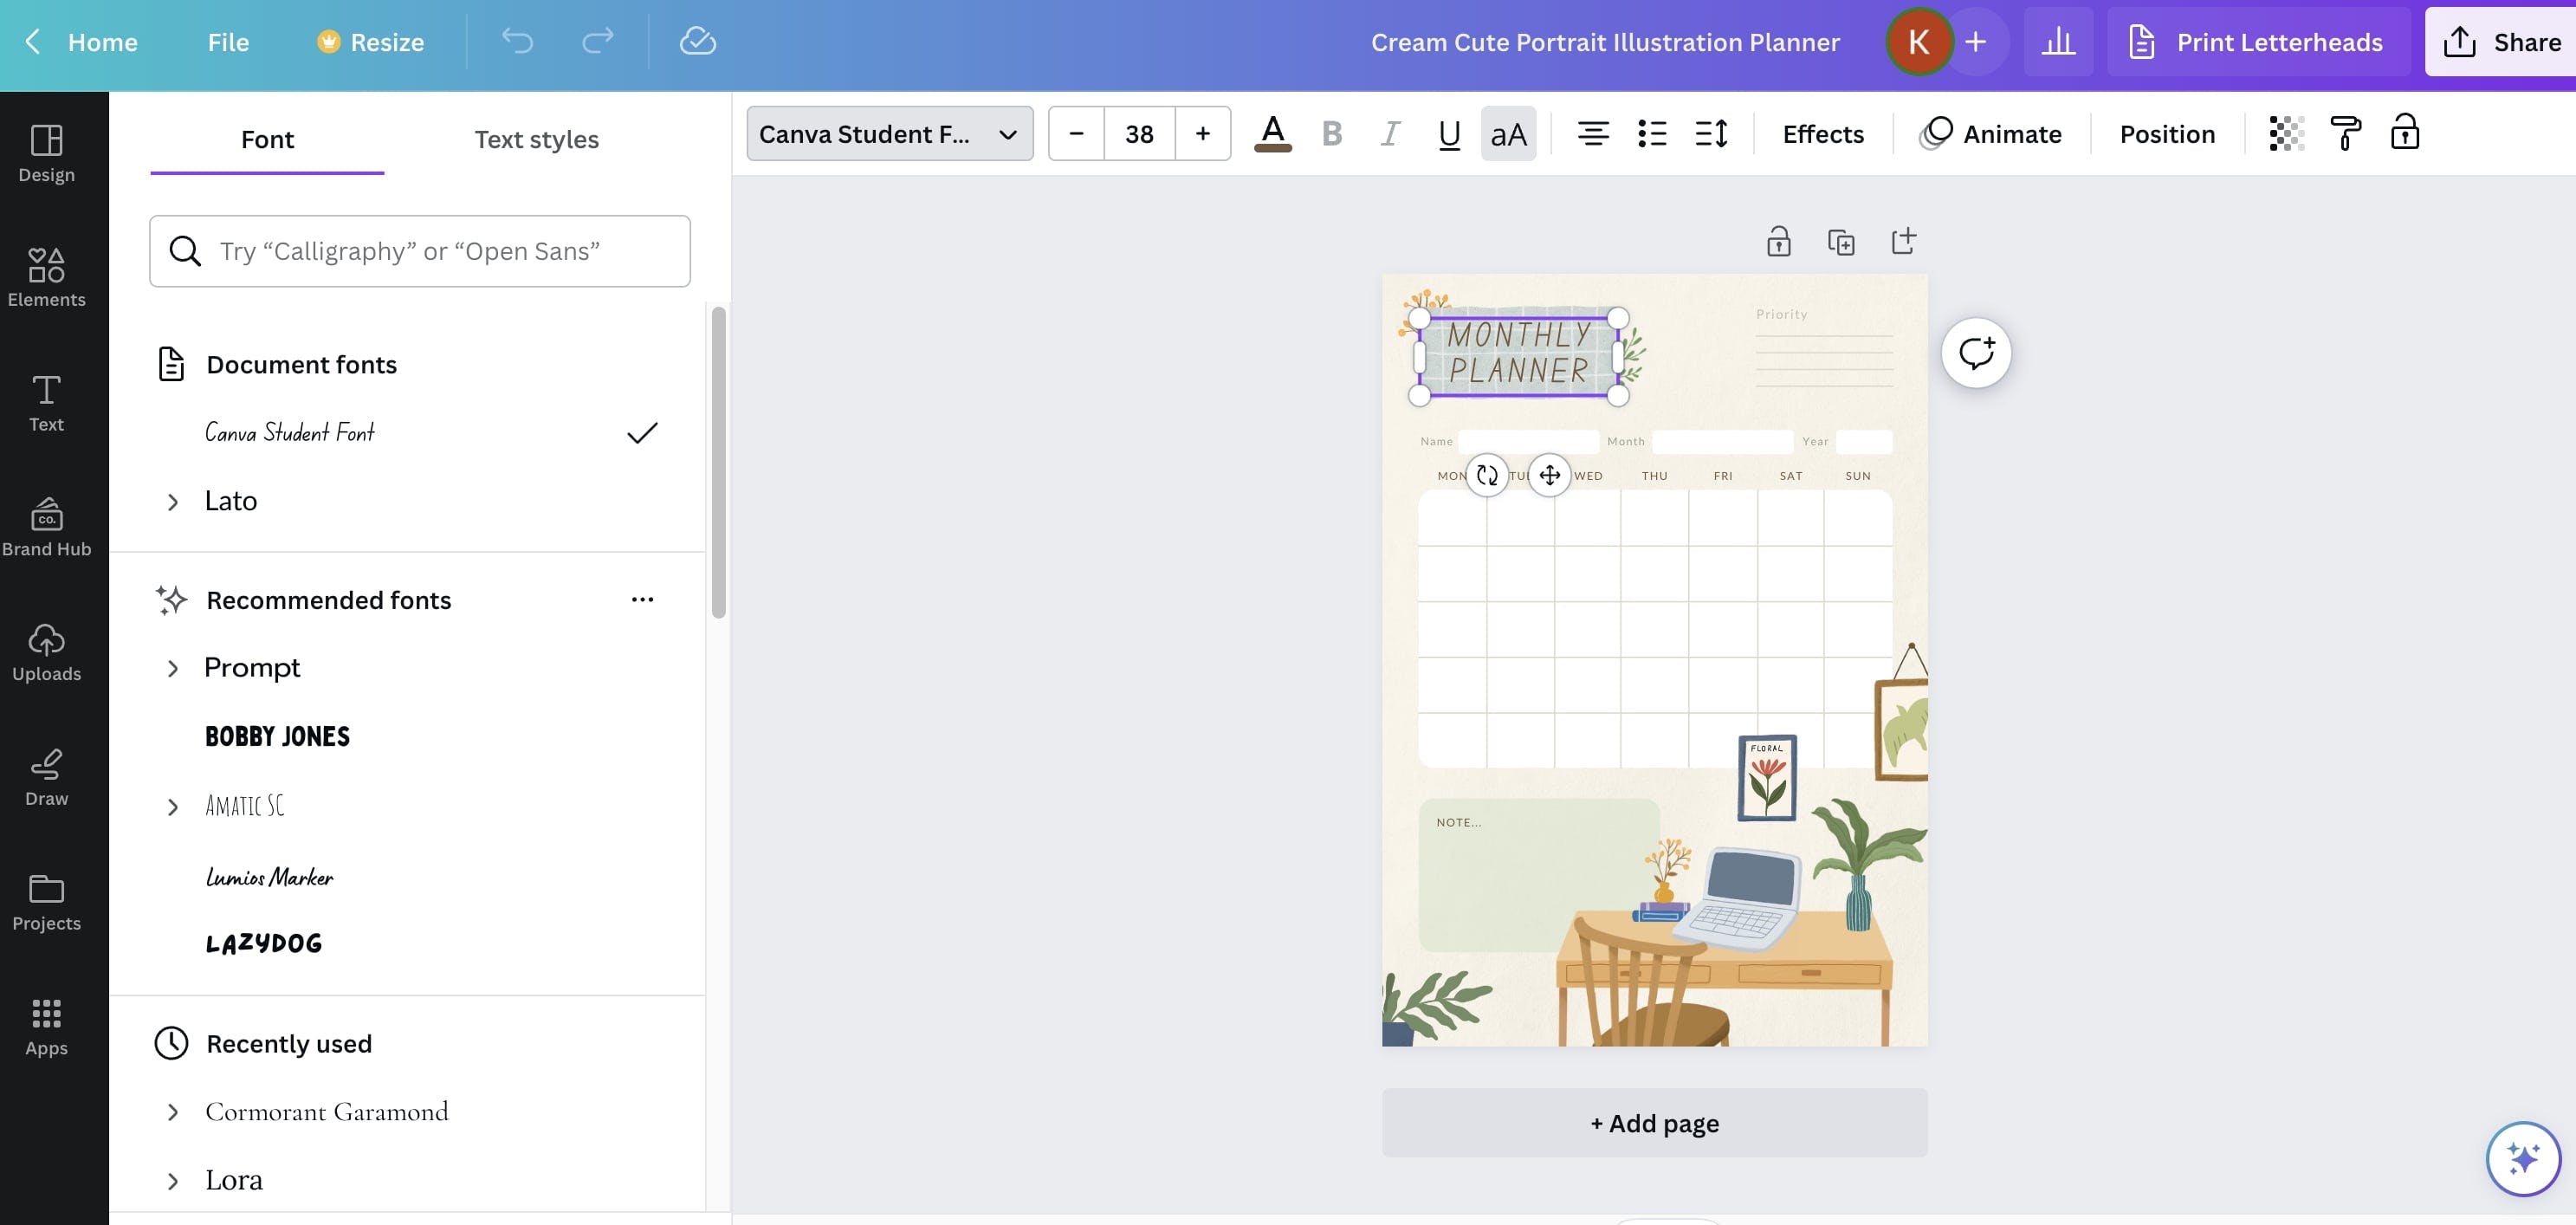
Change fonts and colors in Canva
If you’ve made a template from scratch, simply click on the text icon located on the far left side of your screen and you can add in headers and body text which you can then customize as above.
You can add in headers and body text in Canva
4. Add or adjust shapes and elements
Want to add or change shapes and frames in your premade template or the planner you’re creating from scratch? No problem! Regardless of which option you’re using, you can do this from the same place. Simply go to the left hand side of your screen and click on the ‘elements’ button.
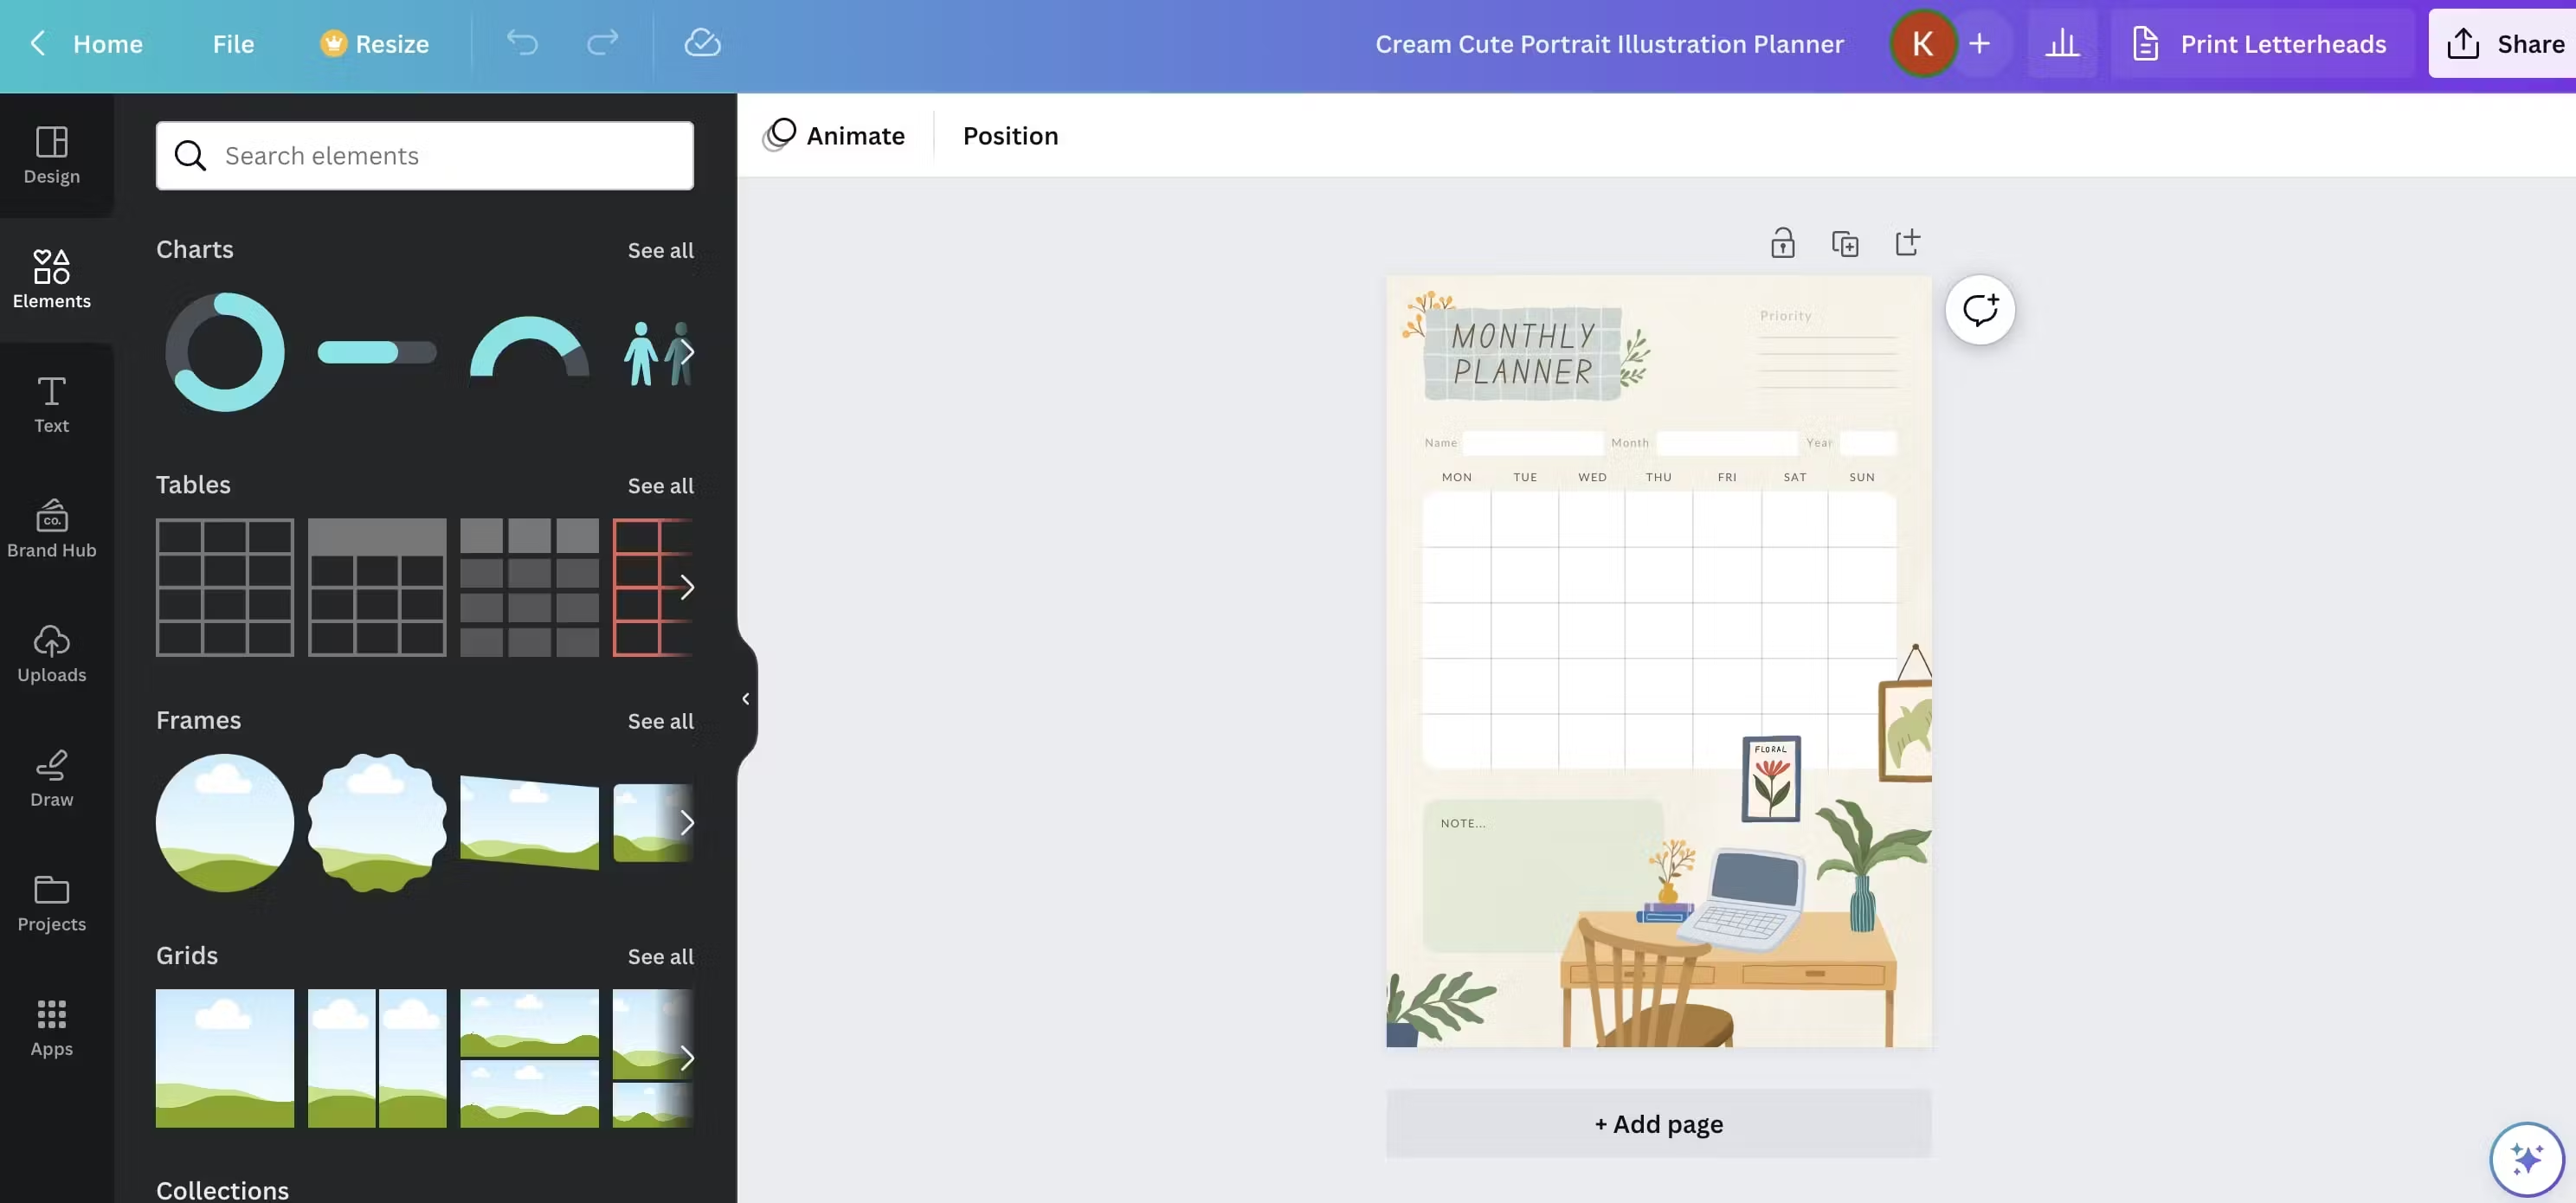
You can add or change shapes and frames in your premade template
5. Fill out your planner
Now comes the fun part — starting to fill out your planner! Simply click on the text icon on the left hand side of your screen and select ‘add a little bit of body text’.
From there you can position the text box wherever you want to on your planner and start typing things in. You might like to use bullet points or another symbol of your choosing to help make it easier to delineate between tasks.
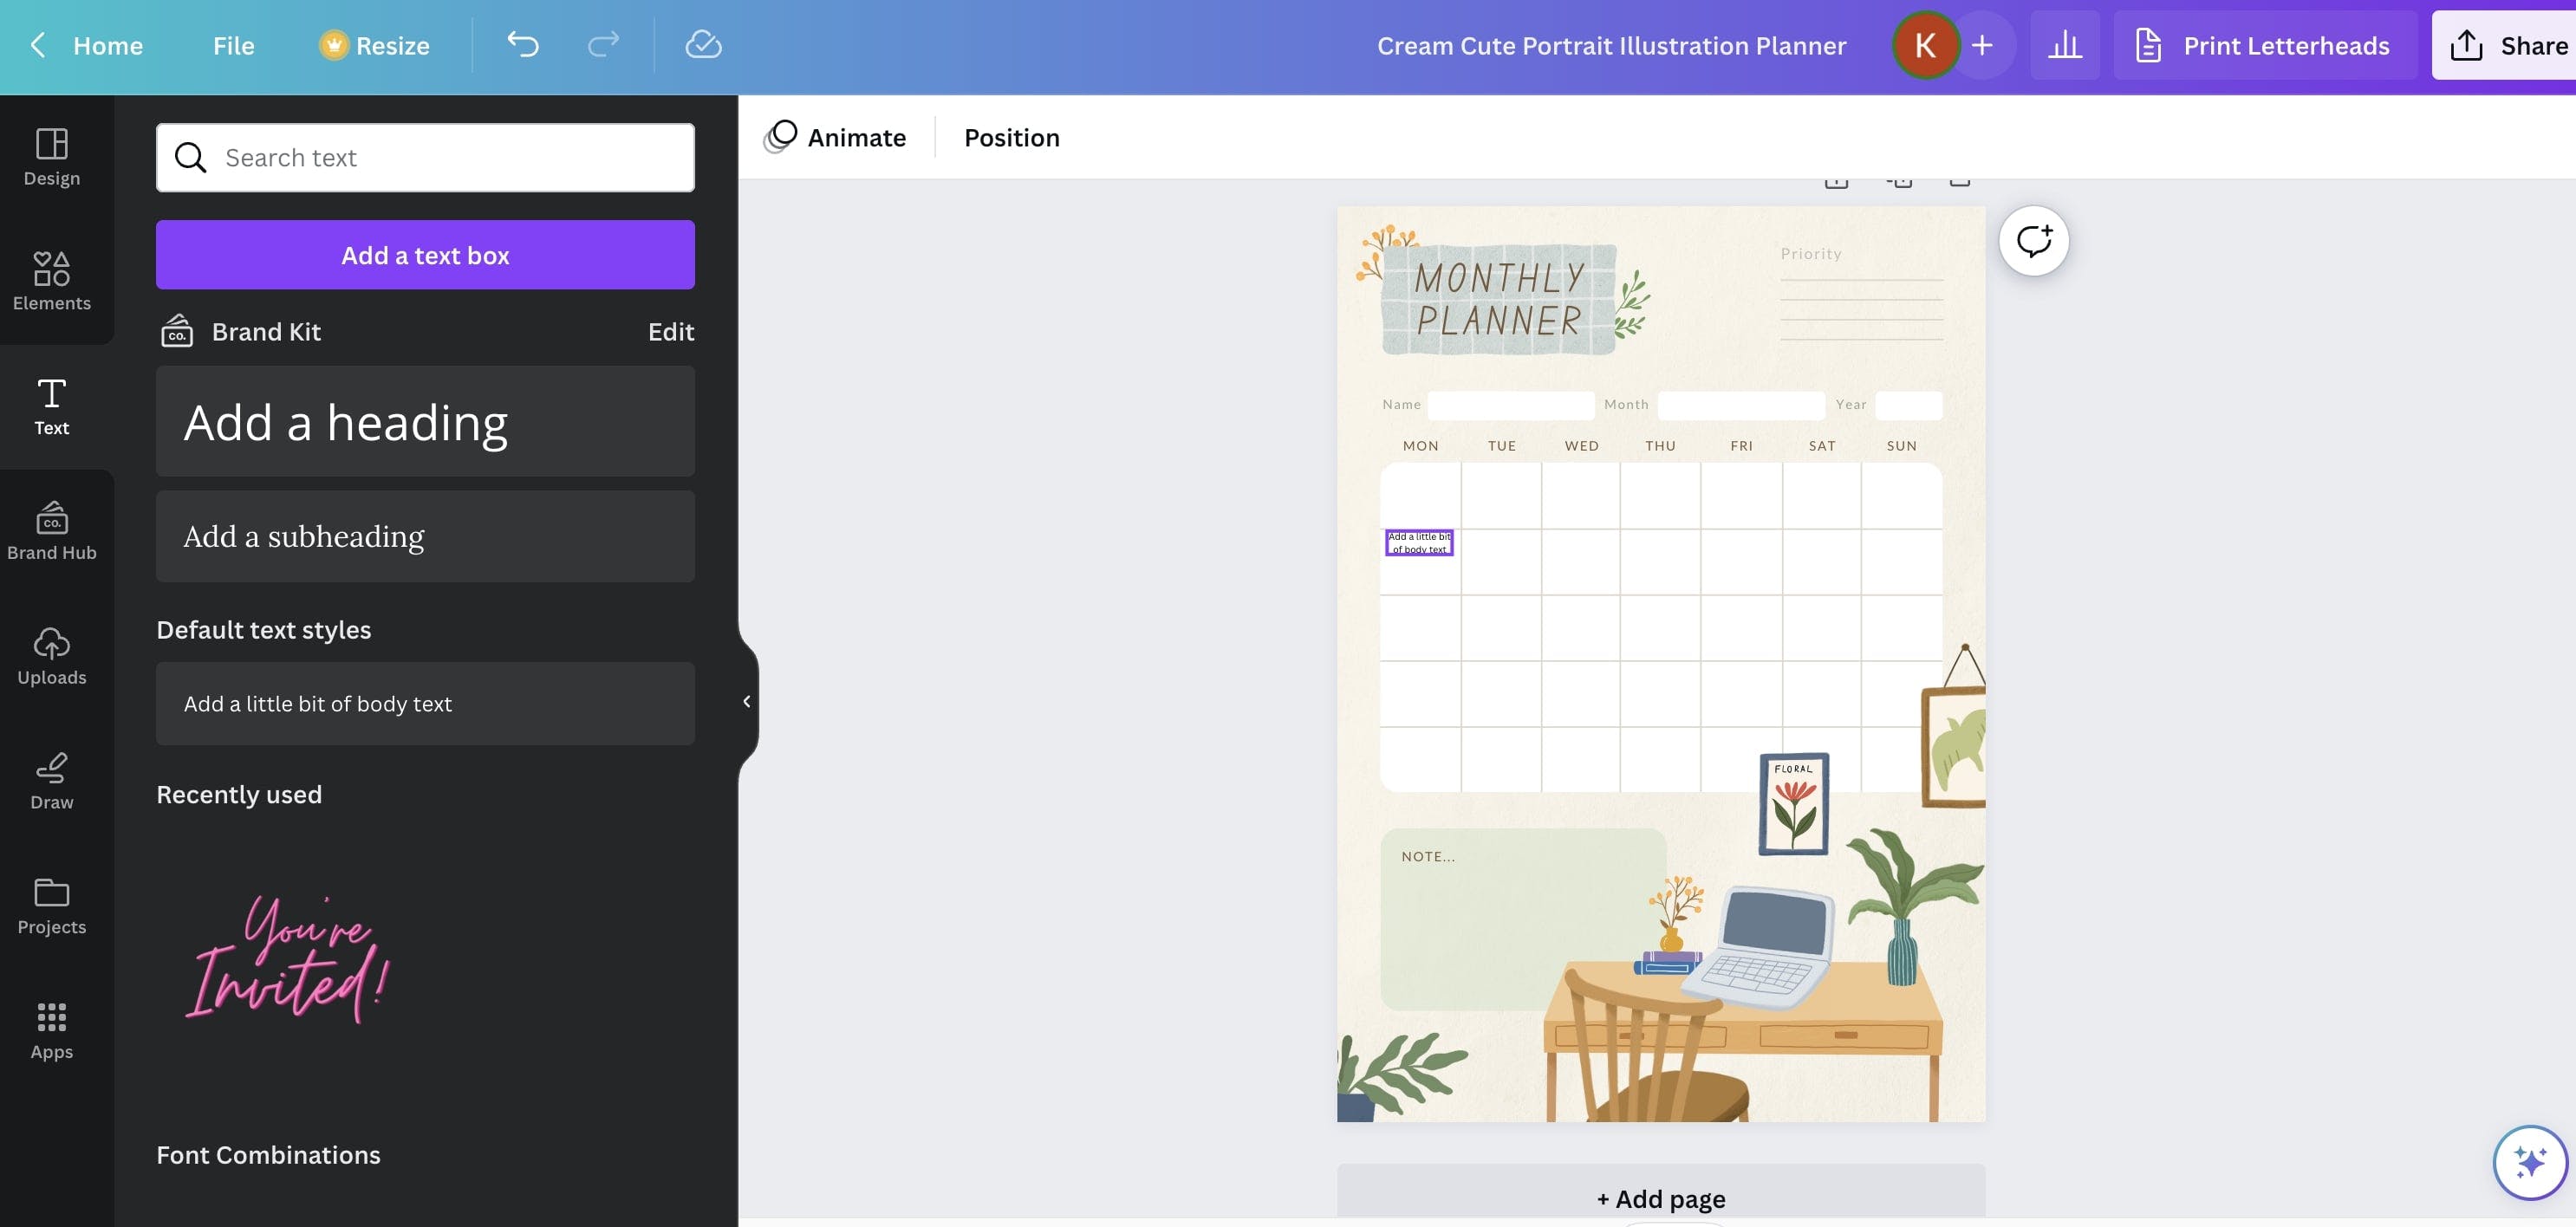
Add body text in your planner
6. Export your digital planner
Once you’ve got everything on your planner, you can then export it to your computer. To do this, go to the ‘share’ button at the top right hand corner of your screen and from the dropdown menu, select ‘download’. Select your file type and then click ‘download’ again.
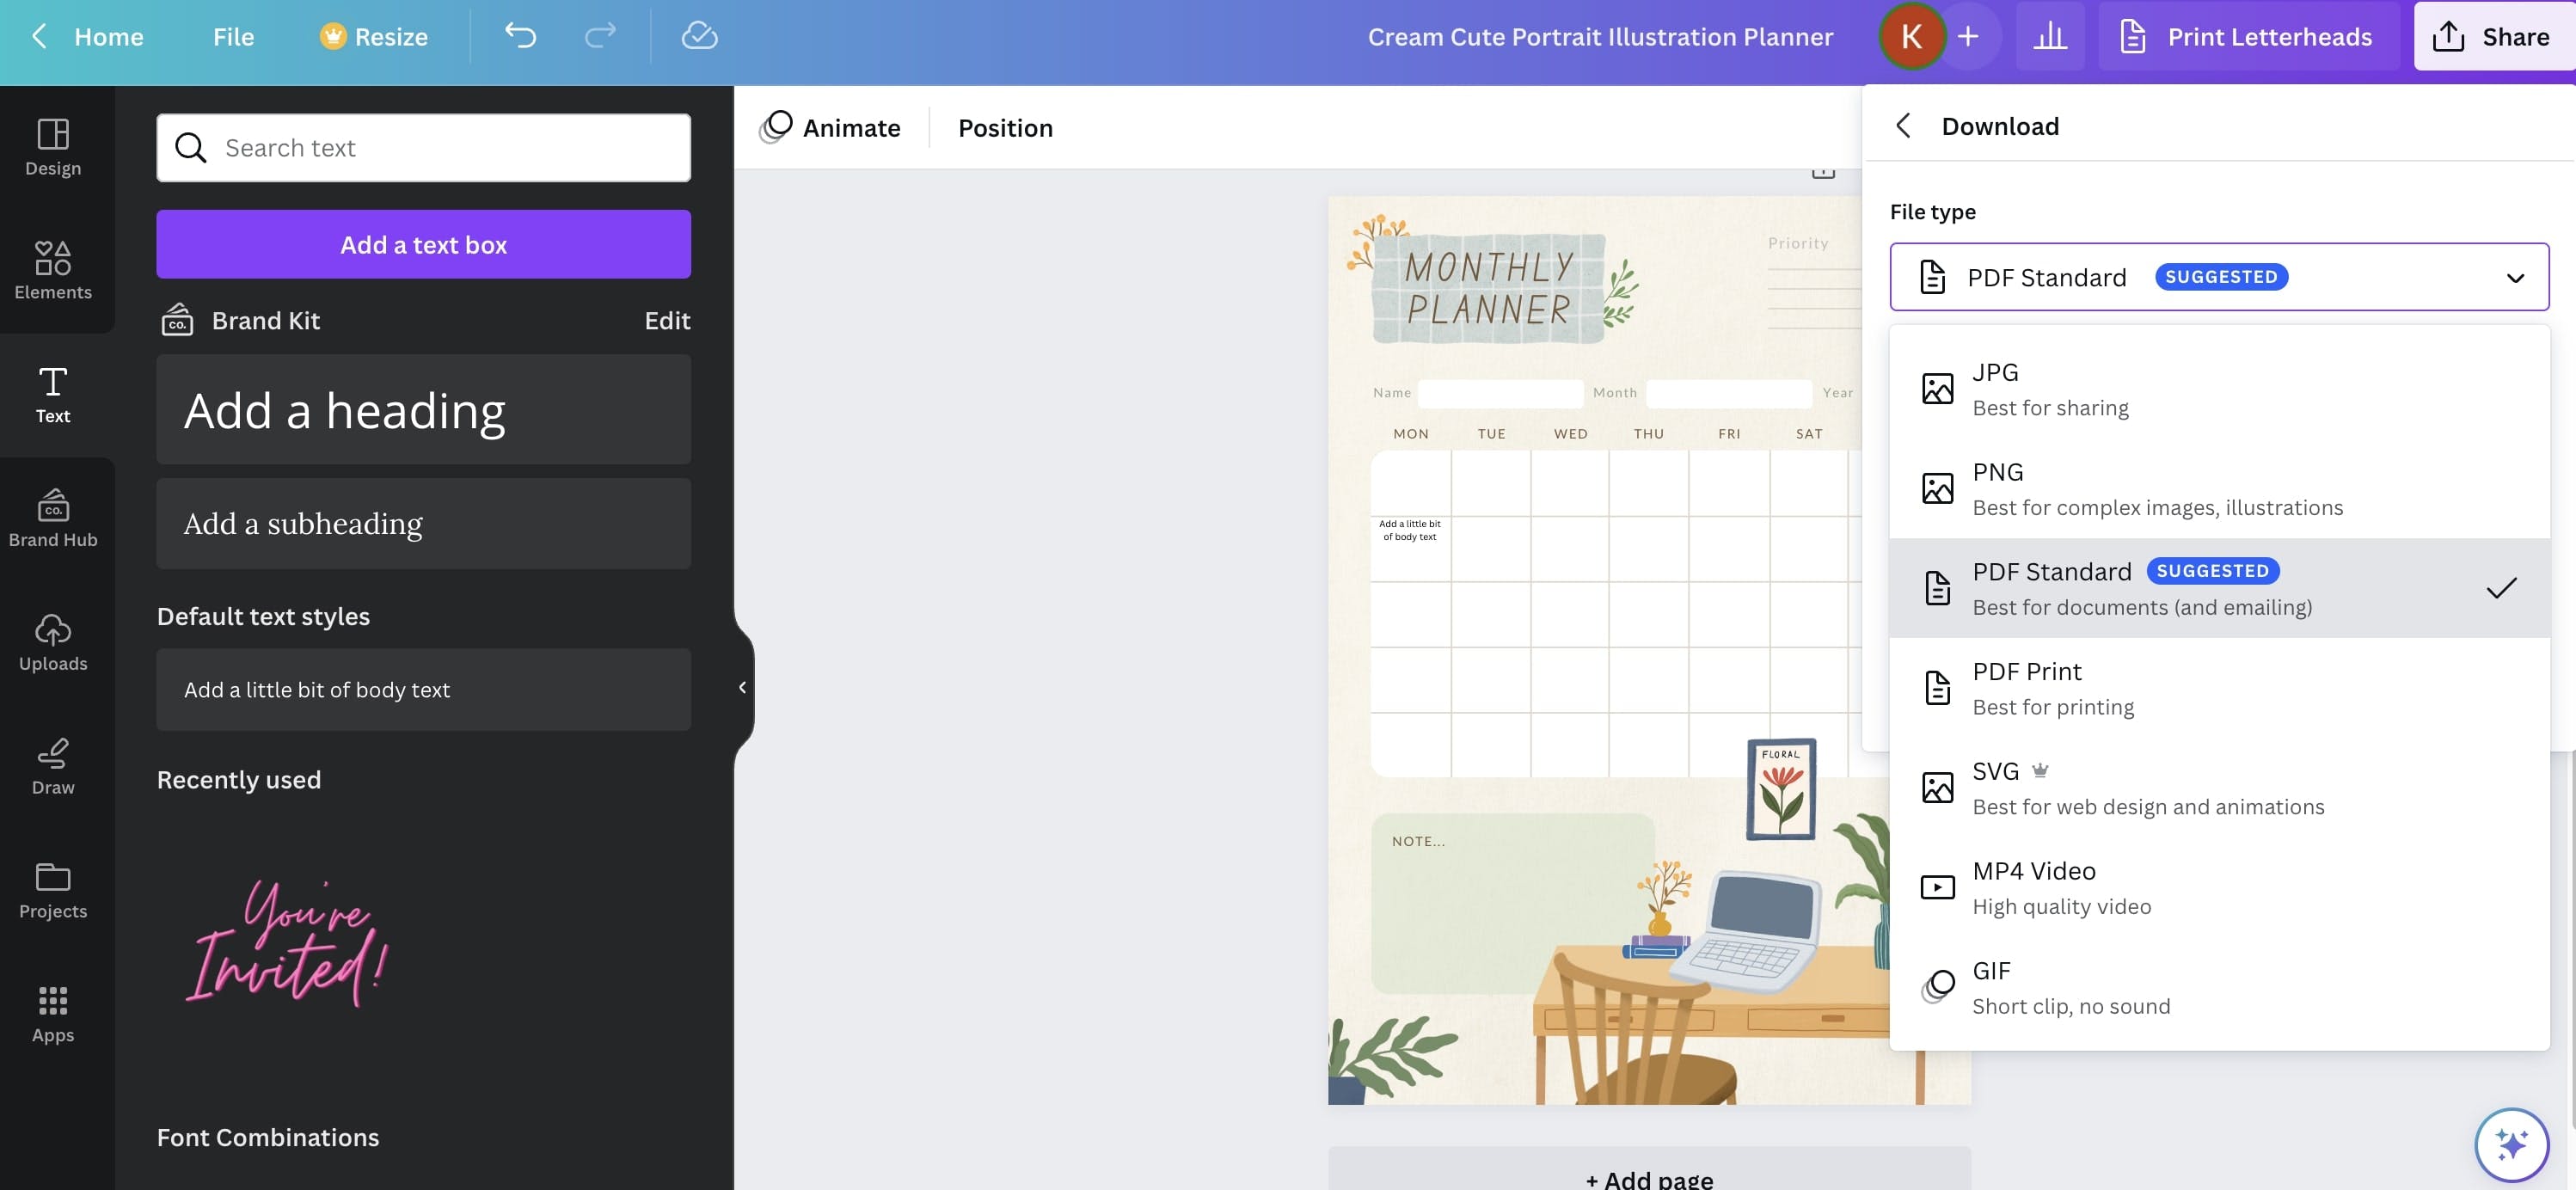
Export your planner in Canva
Comments (5)

Michael Eatonn@michael_eatonn
The client demand for various satellite data operations confirms the correctness of the British government to help the space sector grow and develop violently, Unlocking Space For Business: UKSA’s New Satellite Initiative.
Share

Voi încerca. Mulțumesc.
Thank you


Incredibly useful advice. All of us in the https://domyhomework123.com/calculus department use planners so as not to miss something important.
More stories

Aaron O'Leary · News · 4 min read
Q&A: What the heck is RAG?

Sarah Wright · News · 3 min read
Q&A: What makes AI models hallucinate?
Kyle Corbitt · How To · 3 min read
What we've learned in 3 days of Llama 3

Aaron O'Leary · Announcements · 2 min read
Introducing Shoutouts

Finn Lobsien · Opinions · 5 min read
Can Devin AI Replace Product Managers?